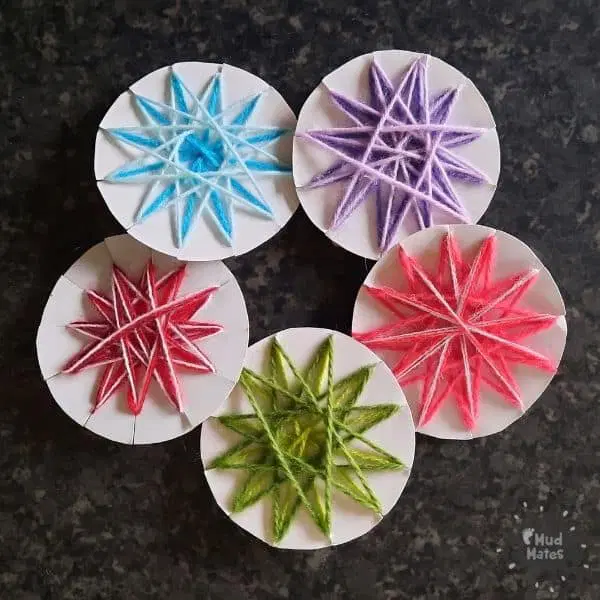
Our Matariki star art weaving activity is super cute, if we do say so ourselves!
Our tissue paper Matariki stars were a hit, and we are sure these will be too!
Making Your Own Matariki Star Art Weaving
Each year, the reappearance of the Matariki star cluster marks the start of the Māori New Year. However, as to when it is celebrated does vary around the country. A star cluster and not a constellation, there are actually about 500 stars altogether, although there are about seven seen with the naked eye. Also dependent on where you are, your local iwi may acknowledge that there are nine and not seven stars in the cluster.
We thought it would be a lovely activity to weave a Matariki star, while listening to the legend of Matariki and the six sisters, available on Te Papa’s website.
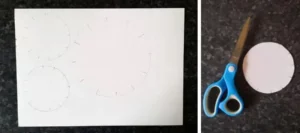
To make your own woven Matariki star, you will need cardboard, a pair of scissors, some yarn and a pencil.
Firstly, use the scissors to cut several circles of the same size out of sturdy cardboard. The larger the circle, the bigger the star. We found that around the size of the palm of your hand works well.
Use the pencil to mark either eight or twelve lines at equal distance from each other around the circle. If you think about a clockface, you would have one line for each number.
Use the scissors to cut along each line around 0.5-0.75cm.

Cut lengths of yarn and slide one end into one slit, leaving a tail on the wrong side of the cardboard.
Pass the yarn through each slit of the circle, moving from one side to the next. You can do this as many times as you want, using different colours or types of yarn and following any pattern you like.
Once your star is complete, leave enough for a long tail at the back of the circle.
Pass the tails behind the yarn at the back of the circle, then tie a loop with one of the tails to help hang your star.

 © 2023 letsgokids


