It’s so simple to turn your favourite drawings and pictures into stickers. All you need is some wax paper, clear sticky tape, and our step-by-step picture guide. Kids will be fascinated as they watch their own drawings turned into stickers they can attach to books, pencil cases and anything else they can think of!
To Make Your Own DIY Stickers You'll Need:
- Paper
- Colouring pencils or pens
- Clear parcel tape
- Wax paper
- Scissors
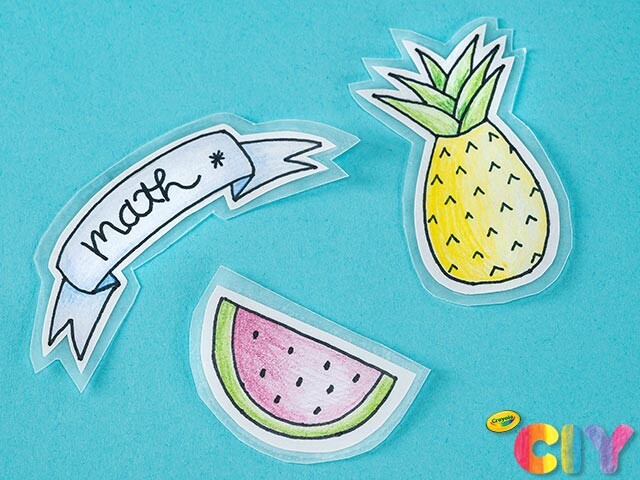
1. Draw your favourite things with felt tips or colouring pencils. Cut out the around the outline of the pictures you want to turn into stickers.
2. Take a piece of wax paper and place some clear parcel tape on top.
3. Place the picture cutout on top of the parcel tape and top with another piece of tape. Press down to make sure the tape is stuck down around the drawing.
4. Cut around the edge of the sticker, making sure to leave an edge of sticky tape around the drawing, as this is what holds the sticker together.
5. When you’re ready to use your sticker, peel away the wax paper backing. If it doesn’t come away easily, an adult can score the back of the paper with a pair of scissors and peel off the wax paper from the tear.
6. If you’re not ready to use the sticker, peel off the wax paper anyway. Take a large sheet of wax paper and apply all your stickers to this. When you’re ready to sticker, it will be easier to remove the stickers from this.

 © 2023 letsgokids


